- Home

How To Use Outdoor Recliner Chairs For Patio Relaxation
Views: 0 Author: Site Editor Publish Time: 2026-07-09 Origin: Site


Transitioning a patio from a basic seating area to a functional relaxation zone requires more than just standard seating. It requires ergonomic support designed for prolonged use. Many buyers purchase outdoor recliners only to face frustrating issues shortly after. You might encounter structural rust after a single humid season. You might experience severe spatial constraints, such as clearance issues when reclining backward. Sometimes, you simply face mismatched aesthetics ruining your outdoor design. We establish an evidence-based framework here. You will learn how to evaluate, place, and maintain an outdoor recliner chair effectively. This approach ensures long-term physical comfort. It maximizes overall structural durability across multiple seasons. It also helps you integrate the piece seamlessly into your existing outdoor lifestyle.
Key Takeaways
Space Planning is Critical: A standard lounge recliner with footrest requires at least 30 to 40 inches of rear and front clearance for safe, unobstructed operation.
Material Dictates Lifespan: Framework materials (e.g., powder-coated aluminum vs. steel) and fabric choices (e.g., Olefin vs. standard polyester) directly impact weather resistance and maintenance frequency.
Mechanism Types Matter: Evaluation should hinge on the specific reclining mechanism (zero-gravity, push-back, or lever-operated) based on user mobility and comfort needs.
Preventative Maintenance Prevents Failure: Regular hinge lubrication and strategic seasonal storage are non-negotiable for extending the life of moving parts.
Evaluating Your Outdoor Recliner Chair Options (Decision Framework)
First, you must assess the reclining mechanism thoroughly. Zero-gravity designs excel at deep pressure relief. They elevate your legs above your heart. This distributes your body weight evenly across the frame. You must evaluate their locking tension knobs closely. Weak plastic knobs slip constantly during use. Look for heavy-duty brass or steel tension locks instead. Alternatively, lever-operated or push-back designs offer a traditional feel. You often see this style in standard patio environments. When reviewing these models, scrutinize the internal gas strut. Check the mechanical track quality carefully. Poorly stamped aluminum tracks jam easily when exposed to outdoor grit.
Frame and Fabric Realities (Pros & Cons)
Understanding material science prevents premature furniture failure. The foundation of your chair dictates its ultimate lifespan. Review the realities of popular materials below.
Material Type
Primary Advantage
Primary Drawback
Ideal Climate Environment
Powder-Coated Steel
High weight capacity, highly rigid structure.
High risk of rust if the coating gets scratched.
Dry, arid, non-coastal areas.
Aluminum / HDPE Resin
Lightweight and completely rust-proof.
Higher upfront purchase price.
Coastal, humid, or rainy climates.
Textilene / Sling Fabric
Dries instantly, highly breathable in heat.
Firmer seating feel, less plush than cushions.
Direct poolside environments.
Cushioned (Olefin)
Maximum physical comfort, luxurious texture.
Requires diligent use of weather-resistant covers.
Covered patios or sunrooms.
Weight Capacity and Structural Integrity
Structural integrity goes beyond basic static weight limits. Always verify the manufacturer's dynamic weight capacity. A static limit only measures dead weight resting on the seat. Shifting your body weight backward puts immense kinetic stress on the hinges. The chair must handle active movement safely. Check the welding joints on the bottom frame. Thick, continuous welds indicate superior structural integrity compared to cheap spot welds.
Spatial Planning: Placement for Optimal Patio Relaxation
Calculating clearance zones requires precise measurements and planning. A patio lounge chair demands an expanded footprint. You need a specific minimum operating radius. Allow at least 30 to 40 inches of rear clearance. You also need ample front extension space for your legs. This prevents the backrest from scraping against exterior stucco walls. It also keeps high-traffic walkways open for guests. Plot your furniture layout using painter's tape on your deck before placing the furniture.
Sun Path and Glare Considerations
Consider the sun path and potential glare heavily. Position chairs based on your primary usage hours. Do you enjoy morning coffee or evening sunsets? Direct UV exposure degrades fabrics rapidly over several months. Harsh glare ruins a relaxing afternoon reading session. Orient the setup strategically facing away from direct western exposure. You can utilize natural tree canopies to filter harsh afternoon light.
Proximity to Environmental Elements
Proximity to environmental elements drastically impacts longevity. Keep mechanical joints far away from direct lawn sprinklers. Avoid placing furniture in subtle yard depressions prone to pooling water. Standing water accelerates rust risks exponentially. It also encourages rapid mold growth inside cushion foam. Maintain a safe distance from open fire pits to protect synthetic fabrics from stray embers.
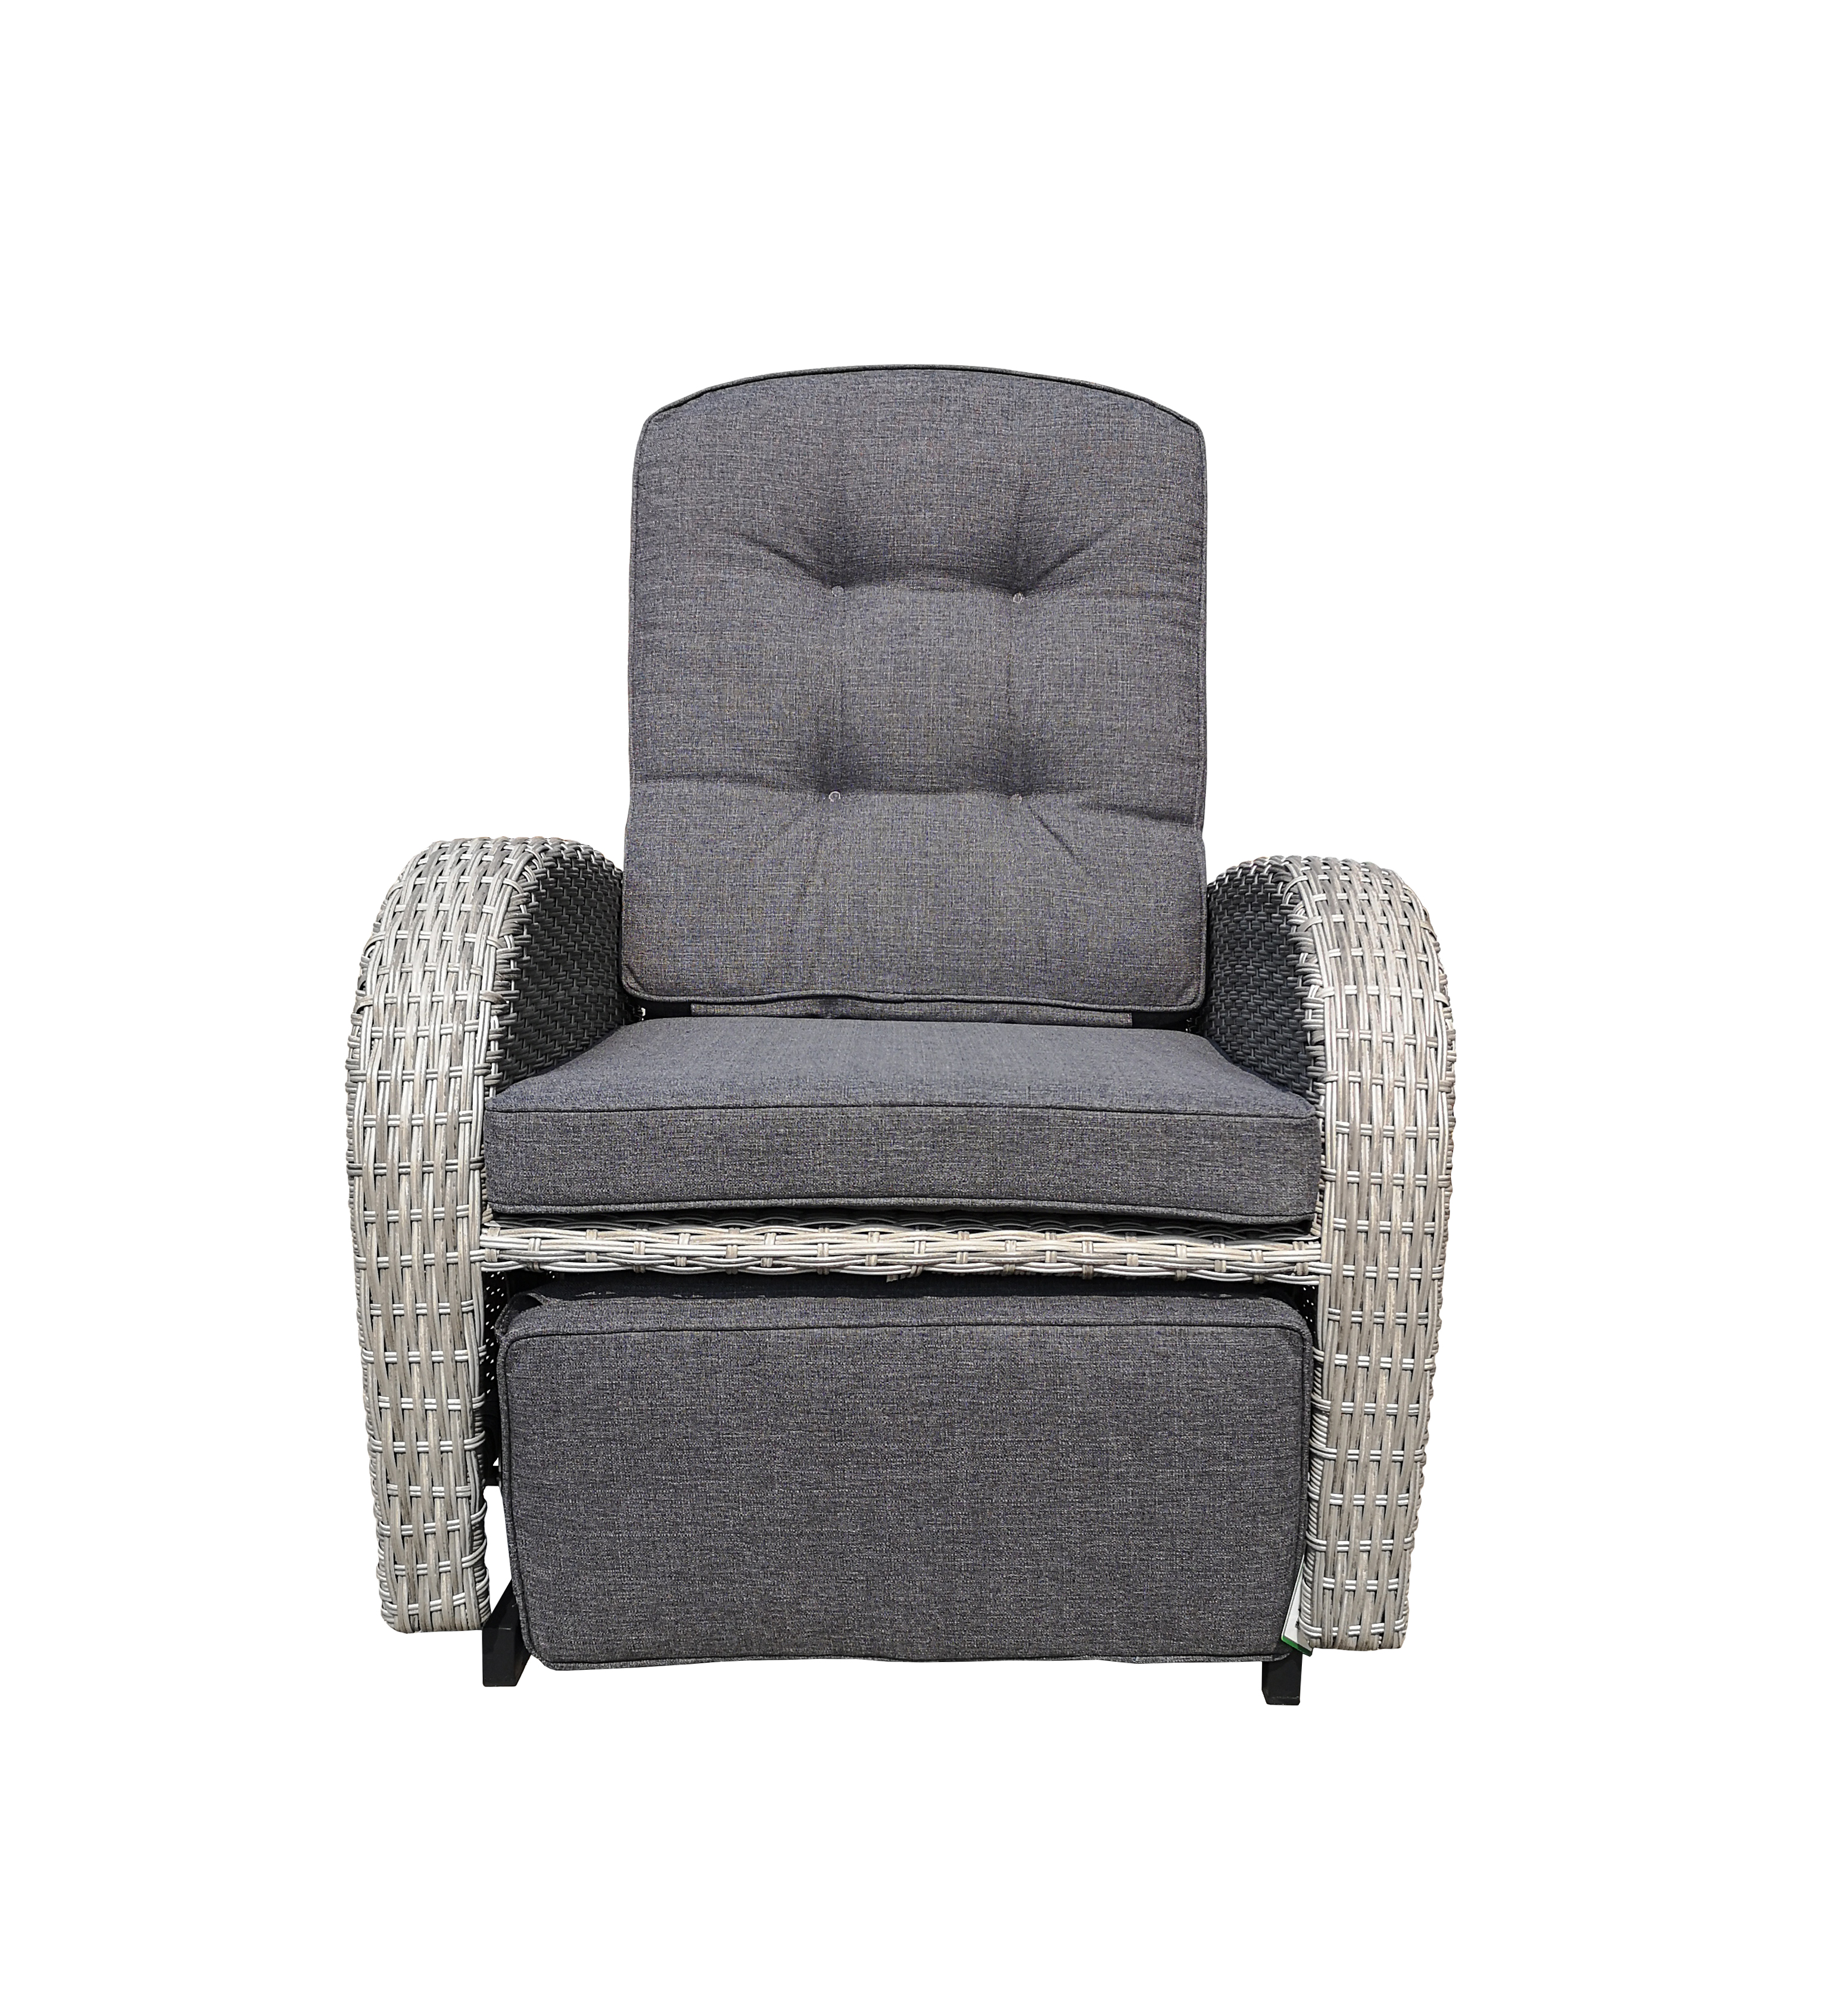
Integrating the Lounge Recliner with Footrest into Existing Setups
Treat the piece as your primary anchor strategy. Use a lounge recliner with footrest as the central focal point. Create a dedicated relaxation nook. Separate this zone slightly from your main outdoor dining area. It establishes a distinct visual boundary for quiet lounging. This separation signals a transition from social dining to personal downtime.
Pairing with Functional Accessories
Pairing furniture requires careful functional evaluation. Choose complementary side tables wisely. They must remain easily reachable while you are fully reclined. Select outdoor rugs carefully. Ensure chair legs do not snag on loose natural weaves. Add cantilever umbrellas for adjustable, overhead shade control. These umbrellas tilt to block shifting sun angles without cluttering the floor space around your chair.
Maintaining Aesthetic Continuity
Aesthetic continuity unifies your entire patio layout. Match frame materials to your existing dining sets. Coordinate cushion color palettes closely using analogous colors. This prevents the new piece from looking disjointed or out of place. Use decorative throw pillows to bridge any remaining color gaps. Consistent visual themes make the patio feel like a deliberate outdoor room.
Ergonomic Best Practices for Prolonged Use
Dialing in an adjustable backrest chair demands a methodical approach. Finding the perfect posture prevents muscle fatigue. Follow this step-by-step logic for optimal angles:
Sit fully upright first to assess your baseline spinal posture against the backrest.
Lean back to a minor 15-degree tilt for comfortable reading or drinking beverages.
Shift downward to a 45-degree angle for casual conversations or tablet browsing.
Recline past 130 degrees for deep relaxation, sunbathing, or afternoon napping.
Lumbar and Cervical Support
Lumbar and cervical support require strict evaluation. Built-in or adjustable headrests prevent severe neck strain during long sessions. Address the empty gap between your lower back and the chair frame immediately. Add a specialized outdoor lumbar pillow if the frame lacks natural curvature. Proper spinal alignment prevents lower back stiffness after you stand up.
Ensuring Safe Operation
Safe operation prevents accidental patio injuries. Address the inherent tipping risk proactively. Plant your feet firmly on the ground. Do this before releasing any side levers. It avoids sudden, jarring drops backward. It also prevents excessive mechanical strain on the internal struts. Always ensure the locking mechanism engages fully before you relax your core muscles.
Implementation Realities: Maintenance and Longevity
Preventative maintenance extends usability significantly over the years. Clean your moving parts regularly using systematic steps to avoid friction damage.
Sweep loose dirt and cobwebs away using a soft-bristle brush.
Clear stubborn debris like wet leaves and sand from the internal tracks.
Wipe down the exposed metal hinges using a damp microfiber cloth.
Avoid harsh chemical solvents entirely. Use a dry silicone-based lubricant on the hinges twice a year. This prevents annoying squeaking and joint seizing without attracting dirt.
Managing Fabric Wear
Managing fabric wear preserves visual appeal. Spot-clean Olefin or Textilene gently as soon as spills occur. Use mild dish soap mixed into lukewarm water. Scrubbing aggressively degrades the invisible UV-protective coating. Rinse thoroughly using a gentle garden hose spray to prevent soap residue buildup. Residue attracts fine dust, making the fabric look dingy over time.
Off-Season Protocol
Off-season protocol requires acknowledging typical "all-weather" marketing limitations. Aluminum frames survive winter weather easily, but steel mechanisms suffer terribly from ice. We highly recommend proper winterizing. Use breathable, waterproof covers during heavy seasonal storms. Better yet, move the furniture into a dry indoor storage unit. This protects mechanical joints from freezing, expanding moisture.
Conclusion
A successful patio upgrade balances multiple variables seamlessly. You must weigh ergonomic needs against physical spatial realities. You must also commit to minor, routine preventative maintenance. Taking these proactive steps guarantees lasting outdoor comfort. Measure your available patio space carefully before buying anything. Cross-reference your local climate demands against proposed frame types. Finally, test reclining mechanisms to ensure they operate smoothly under your body weight. These actions ensure your final choice delivers true relaxation.
FAQ
Q: Can an outdoor recliner chair be left in the rain?
A: Yes, but understand the difference between water-resistant and waterproof. Most frames survive rain exposure easily. However, internal springs, steel hinges, and standard cushion foams remain highly vulnerable. Prolonged moisture causes rust and mold. Always use breathable, waterproof covers during heavy downpours to protect the internal mechanisms.
Q: How much clearance does an adjustable backrest chair need?
A: You generally need 30 to 40 inches of rear clearance for a full backward recline. The front extension usually requires 15 to 20 inches to accommodate the footrest. Always measure your maximum extended length before finalizing patio placement to prevent wall scraping.
Q: What is the best material to prevent rust on a patio lounge chair?
A: Powder-coated aluminum and High-Density Polyethylene (HDPE) resin are the definitive answers for rust prevention. Teak is also an excellent natural wood option. These materials inherently resist oxidation, making them ideal choices for coastal environments or highly humid climates.
Q: How do you fix a stiff reclining mechanism on outdoor furniture?
A: First, clear the mechanical tracks of dirt and sand using a stiff brush. Next, apply a dry silicone spray directly to the hinges and tracks. Avoid using WD-40, as its oily residue attracts dust and creates heavy grime buildup over time.